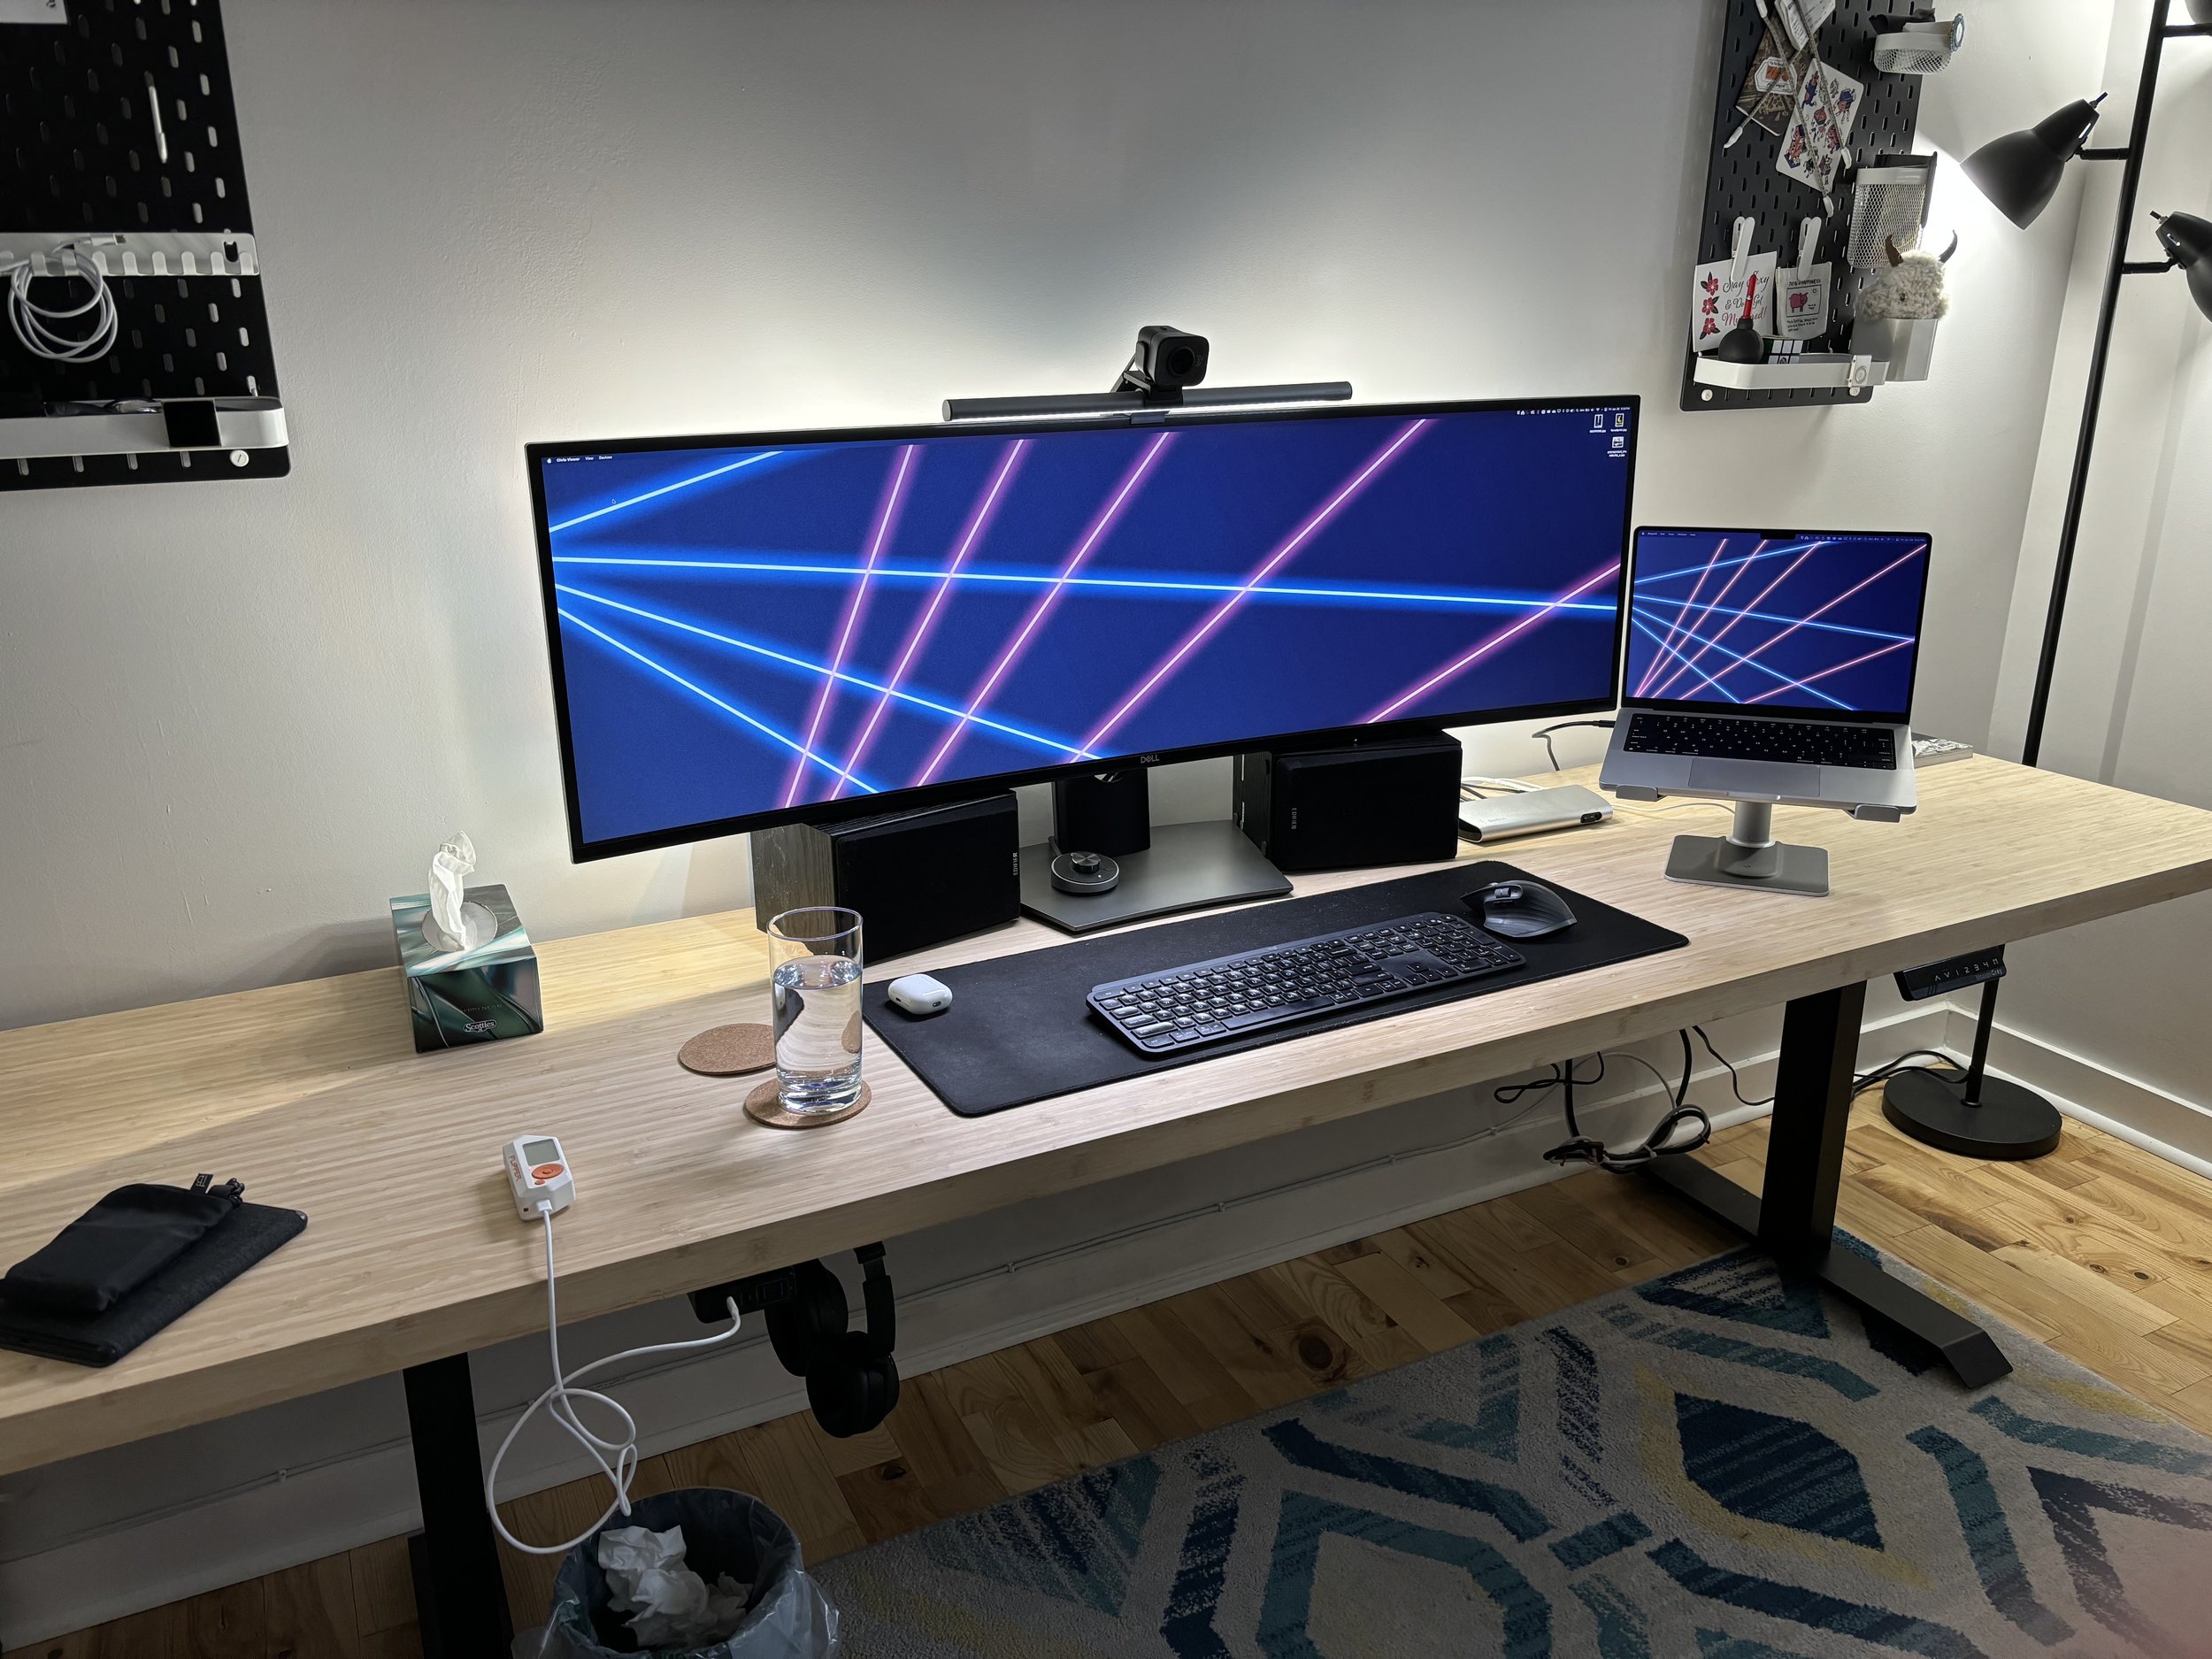
I haven’t covered a lot of my evolved desk setup since moving back to the Maritimes, but it’s been a slow climb with a lot of slow changes. I started with an 8 foot bamboo countertop and a standing desk frame from MotionGrey, and basically just transplanted my existing setup onto it. I added speakers as I have the desk space for it, and the Skadis peg boards from Ikea keep things off the desk and functional and clean.
I’ve worked through enhancing the lighting - My office has a single, small north-facing window, which doesn’t get a ton of direct light. With Philips Hue bulbs, HomeAssistant, and the Adaptive Lighting plugin, I’ve been able to automate a daylight curve on my ambient lighting in my office, helping me both ramp up and wind down for the day without any thought.
I’ve been working off my Macbook screen a bit more lately however and it really made me wonder why I’m just throwing my macbook into clamshell under my monitor day-to-day, so I went on a week-long review search of stands. I eventually landed on the TwelveSouth HiRise Pro, and after a quick order to the Apple store - Oddly the cheapest place I could find it in Canada - it came in last week.
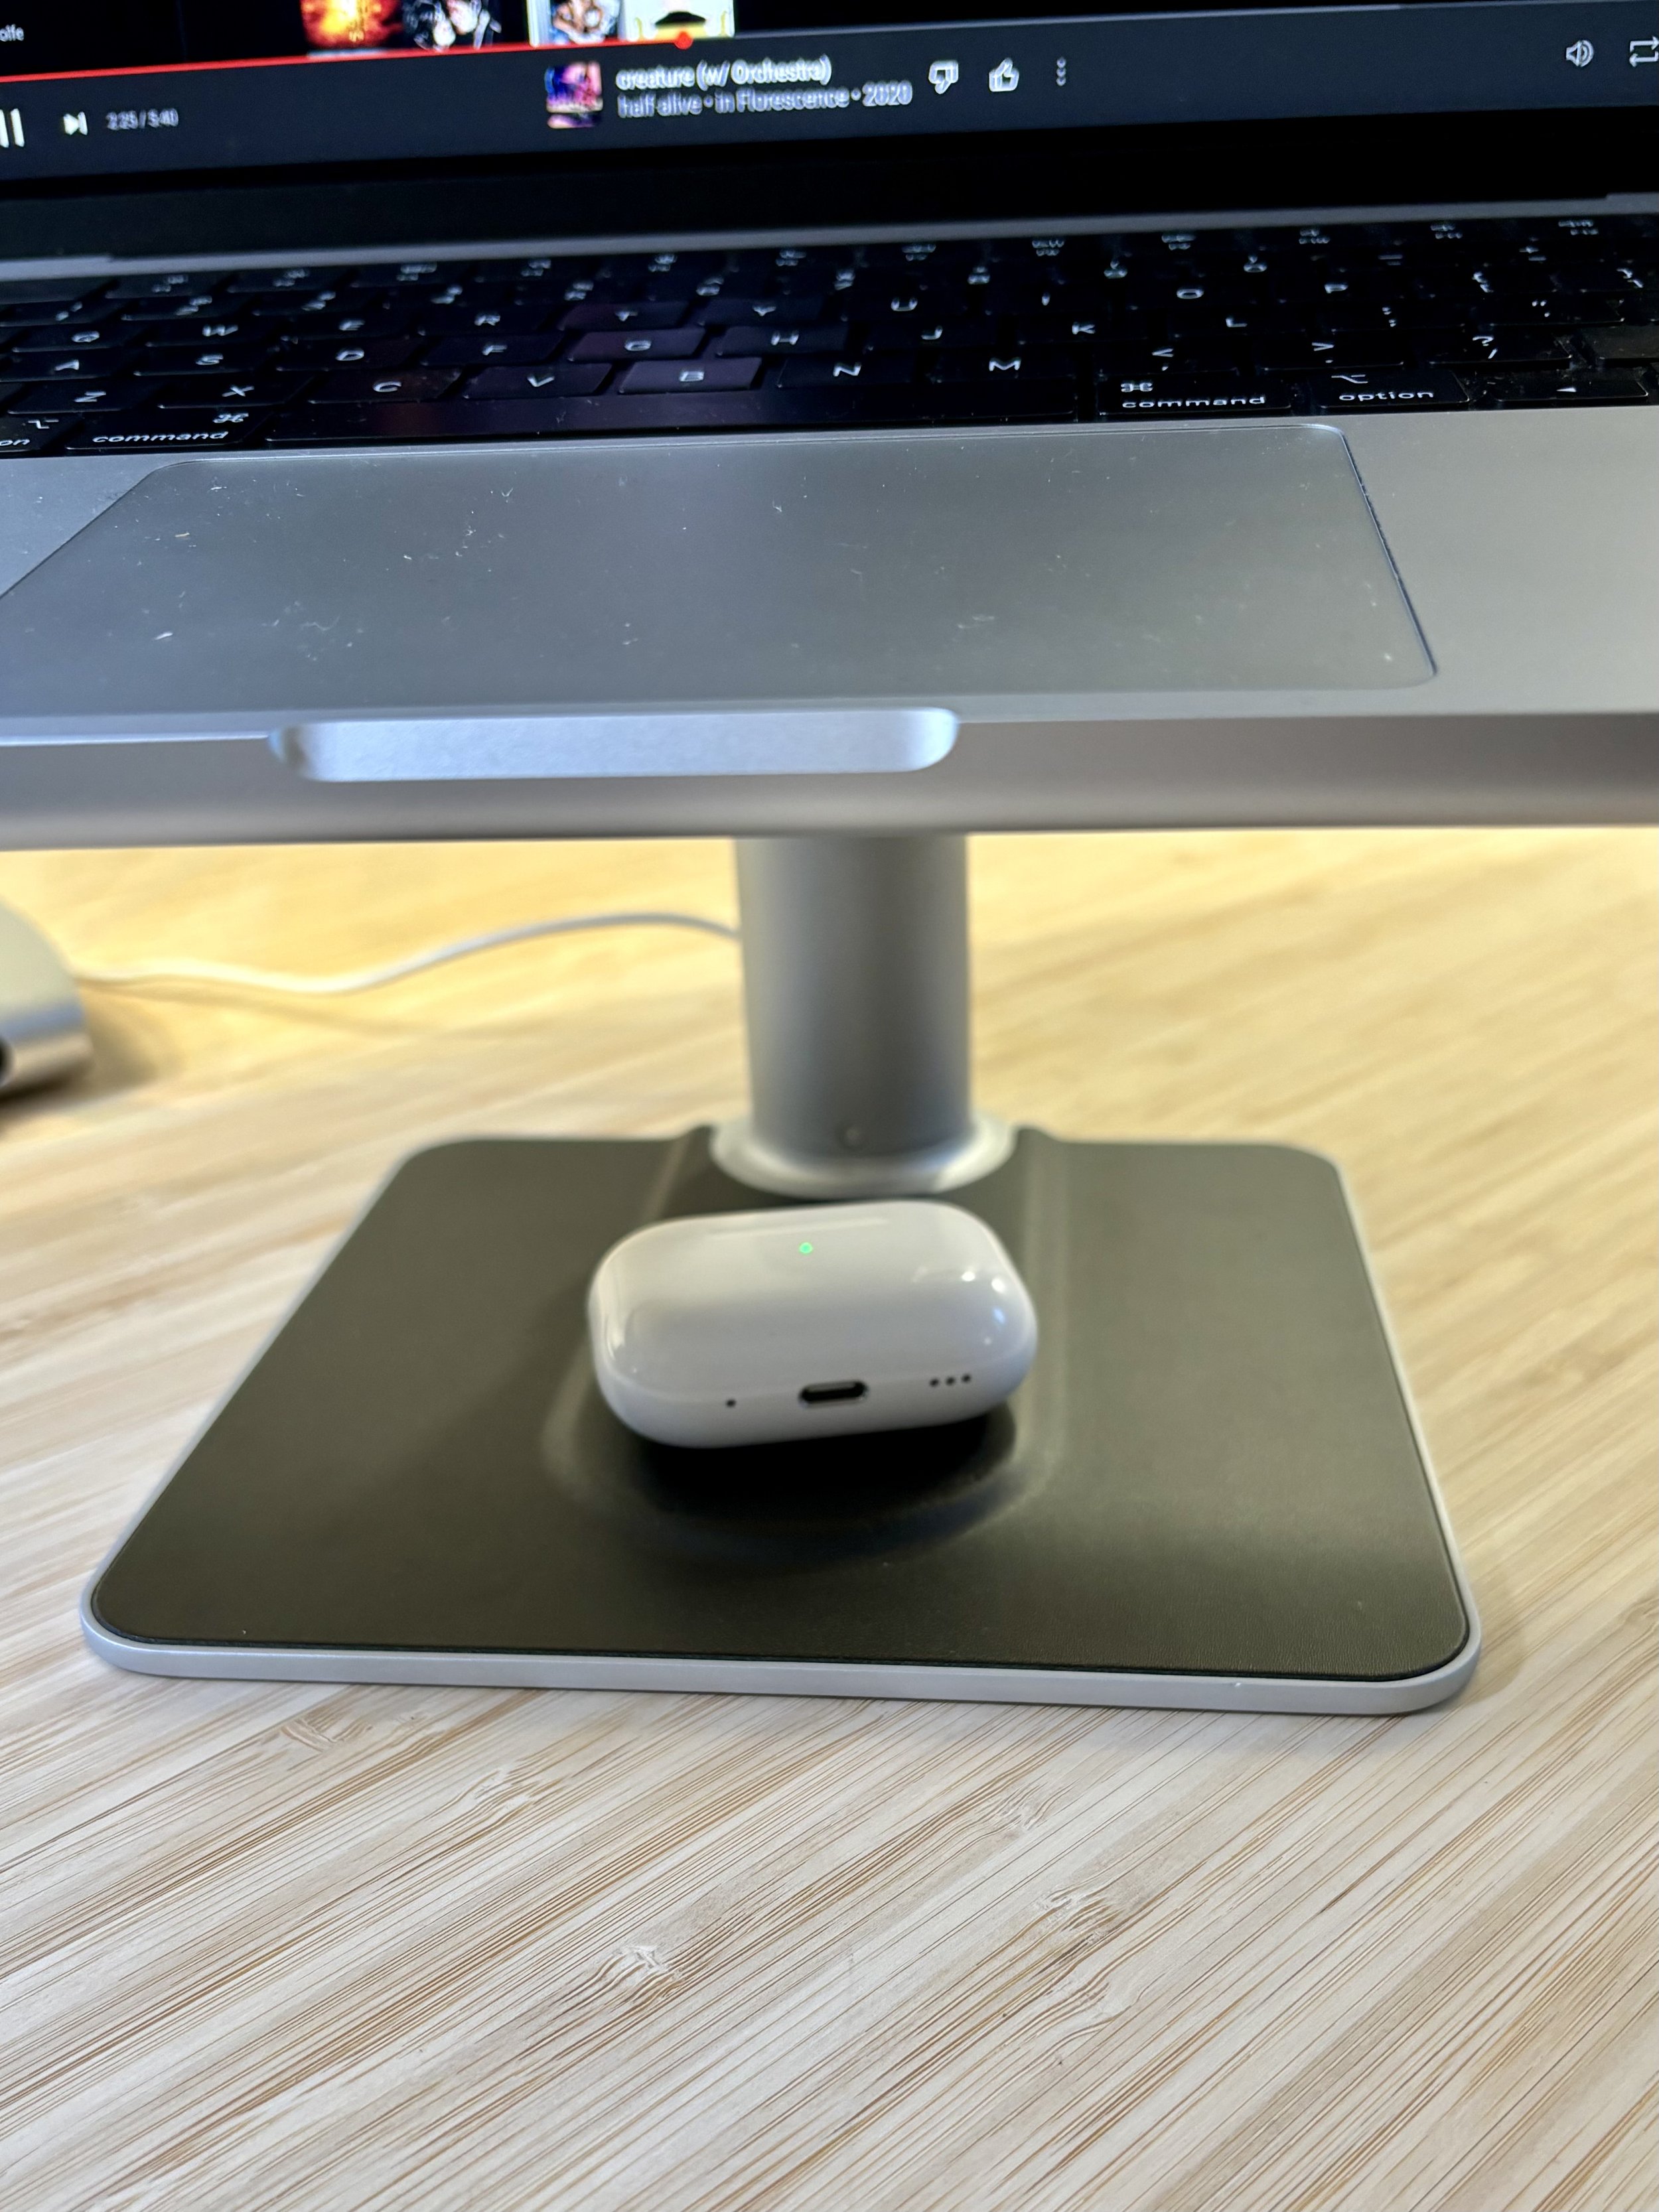
I chose the HiRise over other stands due to reviews of stability, ease of adjustment, and the fact that it had a purpose-built space for my MagSafe charging puck, finally! Overall it’s been incredibly easy to adjust, covers a great range of heights, and it seems rock solid. The finish matches the silver on my Macbook Pro pretty much perfectly. It’s been nice to have yet another display beside the super ultrawide for odds and ends like music and Discord too.
I’m still on a quest to optimize and minimize however, so my next post should be covering the replacement of my trusty U4919DW with something a bit higher resolution - The Apple Studio Display.
The concept with the studio display is I should be able to effectively remove my dock, speakers, and webcam from my setup, reducing cable clutter. I’m also going to be able to leverage some of the quality of life features like true tone, auto-brightness, and color-matching of the Macbook Pro display.
We’ll see where it goes - It’s going to be technically a downgrade in available screen space, however I’m very much looking forward to the nice things that come with keeping stuff within “the ecosystem”.